![]() Mold
Rubber Presents . . .
Mold
Rubber Presents . . .
A Glowing Success Story in Candlemaking!
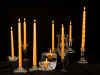
| Beeskep II began as a kitchen operation in 1993. The unique designs and high quality of the 100% pure beeswax candles quickly turned Beeskep II into a thriving candlemaking enterprise. |
|
Exclusively |
To meet a growing demand, Beeskep II started making their own candle molds with Smooth-On mold rubbers |

| "My own molds are lasting much longer which cuts down on my labor and material costs. I literally get thousands of castings from a single Smooth-On mold." ---- Bob Maring, Beeskep II |
Beeskep II uses Smooth-On's PMC-744
and PMC-746
to make all of their production molds.


|
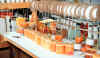
Beeskep II has refined their mold techniques over the years, and offers tips for making production candle molds from simple wooden models. |
![]()
Step 1
Step 7
Step 8
Step 9
Step 10
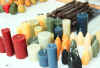
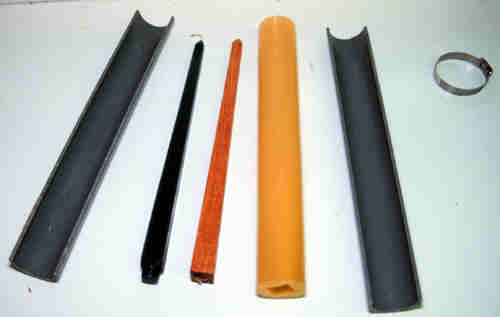
Step 1: Plastic tubing is cut in
half and will serve to contain the liquid
mold rubber.
Step 2: The model is mounted on a wooden base.
Step 3: The model is sealed with Smooth-On SuperSeal™ and allowed to dry.
Step 4: Ease Release™ release agent (from Smooth-On) is applied to the model and plastic tubing to prevent the rubber from sticking.
Step 5: The plastic tubing halves are assembled around the model and base, and are then secured with hose clamps. A holding fixture is positioned to center the model and prevent movement when the rubber is poured.
Step 6: Parts A & B are dispensed into a clean mixing container and thoroughly mixed.
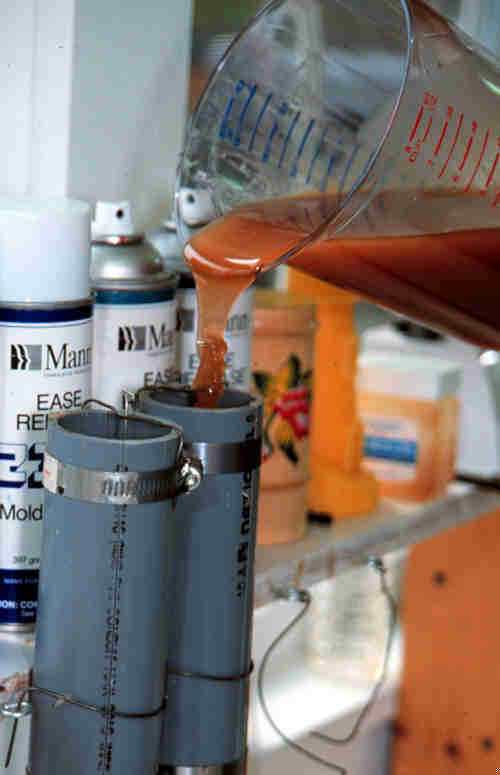
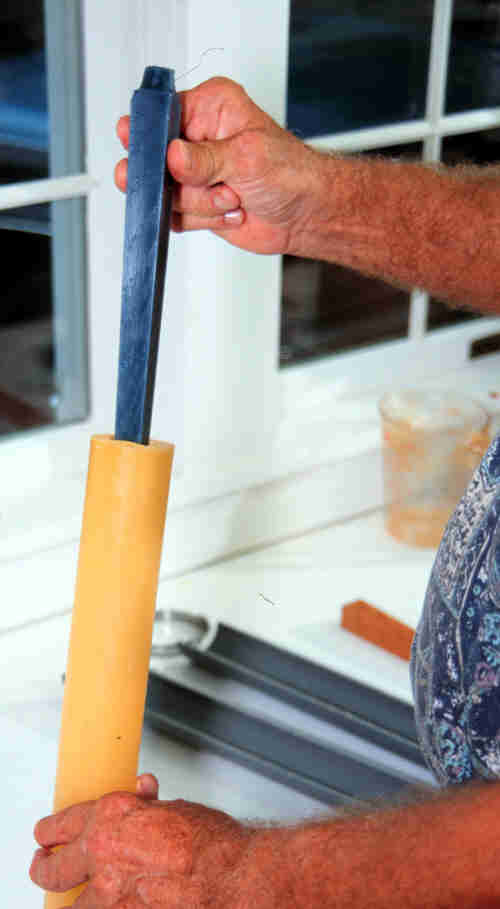
Step 7: The mixed rubber is slowly poured into the plastic tubing around the model. The liquid rubber is then allowed to cure overnight.
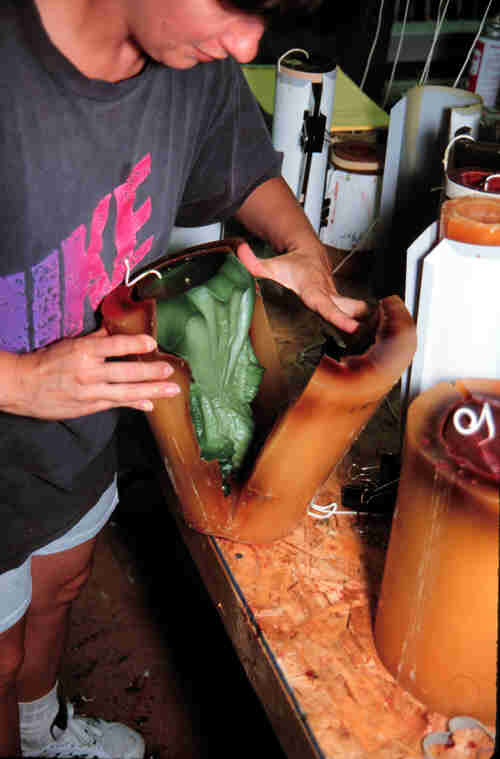
Step 8: Next day, the plastic halves are removed. The wood model separates easily from the mold cavity.
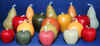
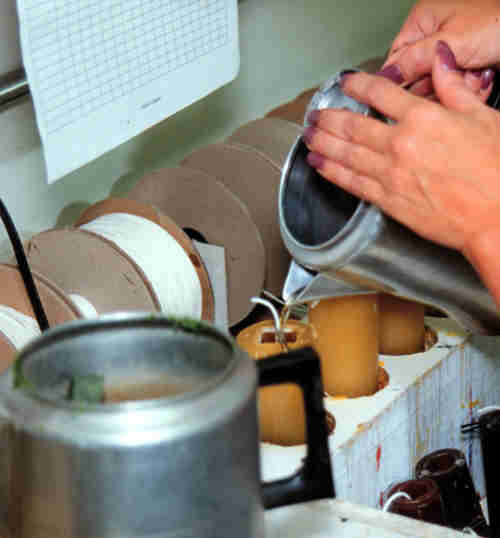
Step 9: Hot beeswax (160º F / 70°C) is then poured into the mold cavity and allowed to cool.
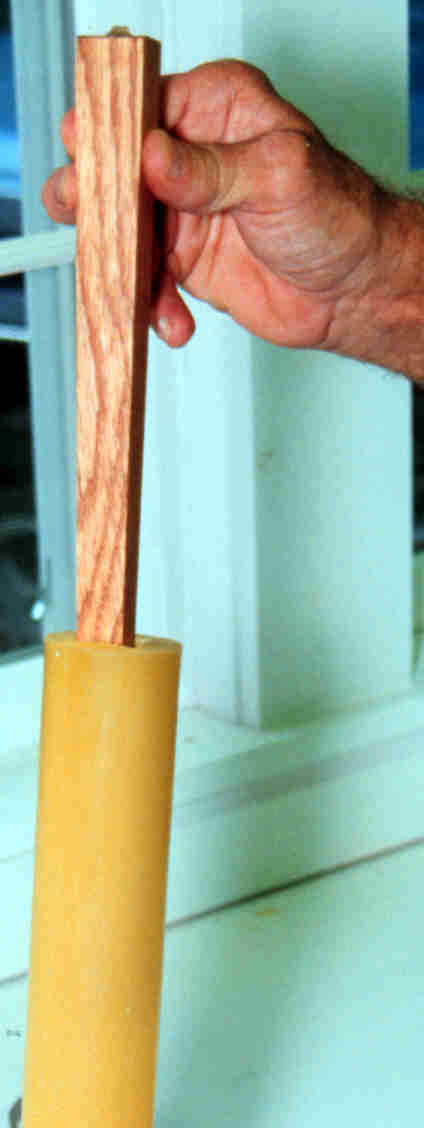
Step 10: The finished wax casting is then removed from the mold, yielding a perfect copy.
 |
With this single rubber mold,
Beeskep II |